
Custom Dialog Android
This tutorial shows how to create a dialog with custom view in Android. As you know, you can create dialogs and set its title, button actions and message with Android‘s Dialog library. In this tutorial, we’ll create a custom view and set it as view of our dialog.
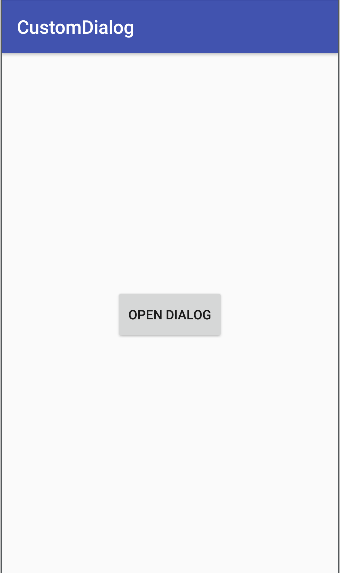
Add a button to your page to trigger the opening action for dialog.
Custom Dialog Android
<?xml version="1.0" encoding="utf-8"?>
<RelativeLayout xmlns:android="http://schemas.android.com/apk/res/android"
    xmlns:tools="http://schemas.android.com/tools"
    android:layout_width="match_parent"
    android:layout_height="match_parent"
    tools:context="com.coffeebreakcodes.customdialog.MainActivity">

    <Button
        android:id="@+id/buttonAction"
        android:layout_width="wrap_content"
        android:layout_height="wrap_content"
        android:text="Open Dialog"
        android:layout_centerInParent="true"/>
</RelativeLayout>
Create Open Dialog
Now, define it and its click listener in your Activity or Fragment or wherever you need to open the dialog.
Create a function named openDialog(). We will handle the dialog operations in it.
 Button button = (Button) findViewById(R.id.buttonAction);
 button.setOnClickListener(new View.OnClickListener() {
       @Override
       public void onClick(View view) {
           openDialog();
       }
 });
Create a custom layout that belongs to your dialog. For instance, add a TextView, an ImageView and a Button.
<?xml version="1.0" encoding="utf-8"?>
<LinearLayout
    xmlns:android="http://schemas.android.com/apk/res/android"
    android:layout_width="match_parent"
    android:layout_height="match_parent"
    android:padding="16dp"
    android:orientation="vertical">

    <TextView
        android:id="@+id/textViewDialog"
        android:layout_width="match_parent"
        android:layout_height="wrap_content"/>

    <ImageView
        android:id="@+id/imageViewDialog"
        android:layout_width="match_parent"
        android:layout_height="wrap_content"
        android:layout_gravity="center"
        android:layout_margin="16dp" />

    <Button
        android:id="@+id/buttonDialog"
        android:text="Dismiss"
        android:layout_width="match_parent"
        android:layout_height="wrap_content" />

</LinearLayout>
Go to openDialog() function and start to create the custom dialog.
private void openDialog() {
        //dialog with custom view
        final Dialog dialog = new Dialog(this);
        dialog.setContentView(R.layout.layout_custom);

        //custom dialog components
        TextView text = (TextView) dialog.findViewById(R.id.textViewDialog);
        text.setText("Custom dialog example!");
        ImageView image = (ImageView) dialog.findViewById(R.id.imageViewDialog);
        image.setImageResource(R.drawable.ic_launcher_background);

        Button dialogButton = (Button) dialog.findViewById(R.id.buttonDialog);
        //dismiss dialog
        dialogButton.setOnClickListener(new View.OnClickListener() {
            @Override
            public void onClick(View v) {
                dialog.dismiss();
            }
        });

        dialog.show();
    }
That’s it. Now the dialog appears when you click the button labeled “Open Dialog” and disappears when you click on “Dismiss” button.

Custom Dialog Android
It is possible to edit all views and add new views to your dialog.
©Coffee Break Codes – Custom Dialog Android